Deploy
Once an application bundle has been published to Massdriver, it can be connected and configured via the UI and then deployed via UI or CLI.
From the UI, you can deploy any application you have access to which includes your private applications and public open-source applications added by the community.
To finish this guide you will need:
- A connected cloud (AWS, Azure, or GCP)
- A domain name registered with your cloud
- A Service Account
Log into Massdriver.
Credentials in Massdriver are just resources — the same primitive as a database, a bucket, or a VPC. Cloud-provider auth is added to the platform by publishing a resource type for that cloud's auth primitive: an aws-iam-role bundle enables AWS, an Azure service-principal bundle enables Azure, and so on. Anything you can model as a resource you can also import.
Open Resources in the sidebar, click Import Resource, and pick the resource type you want (AWS IAM Role in this guide). The right side of the import dialog walks through creating the role on the cloud side via AWS CLI, AWS Console, or a CloudFormation one-click — paste the resulting role ARN back into the form and click Import Resource.
Next navigate to projects and create a new project named Example. A project is a parity boundary and used to replicate infrastructure and applications between environments like application environments (staging, production) and/or regions (us-west-1, us-west-2, or prod us west 2).
Add an environment named Staging.
Attach the credential you created in the Create environment screen.
Design and deploy infrastructure for your application:
If you followed the guide in the previous section your application will depend on a Kubernetes Cluster and PostgreSQL.
Add and connect the following resources from the bundle sidebar. To expand the sidebar click the bundle-bar icon.
You'll need to add:
- aws-vpc
- aws-eks-cluster
- aws-rds-postgres or aws-aurora-serverless-postgres
After adding each to the canvas, click on the instance. Feel free to fine-tune the configuration, but if you are new to cloud infrastructure the Configuration Presets are a great way to get started quickly. Select a preset like Development and then click Deploy.
The resource system in Massdriver (the boxes you connect lines to) shares common types between bundles to make it possible to swap between different infrastructure bundles that provide the same functionality.
In this example you could use aws-rds-postgres, aws-aurora-serverless-postgres, or a version of PostgreSQL running on Kubernetes.
Once all of your infrastructure has booted up, you can add and connect your application: k8s-phoenix-chat-example.
You can now click configure and set your values. You can set any values here that makes sense for your application. A publicly hosted docker repository can be used: massdriver/cloud/phoenix-chat-example.
Once your application has been configured and connected, it can also be deployed from our CLI.
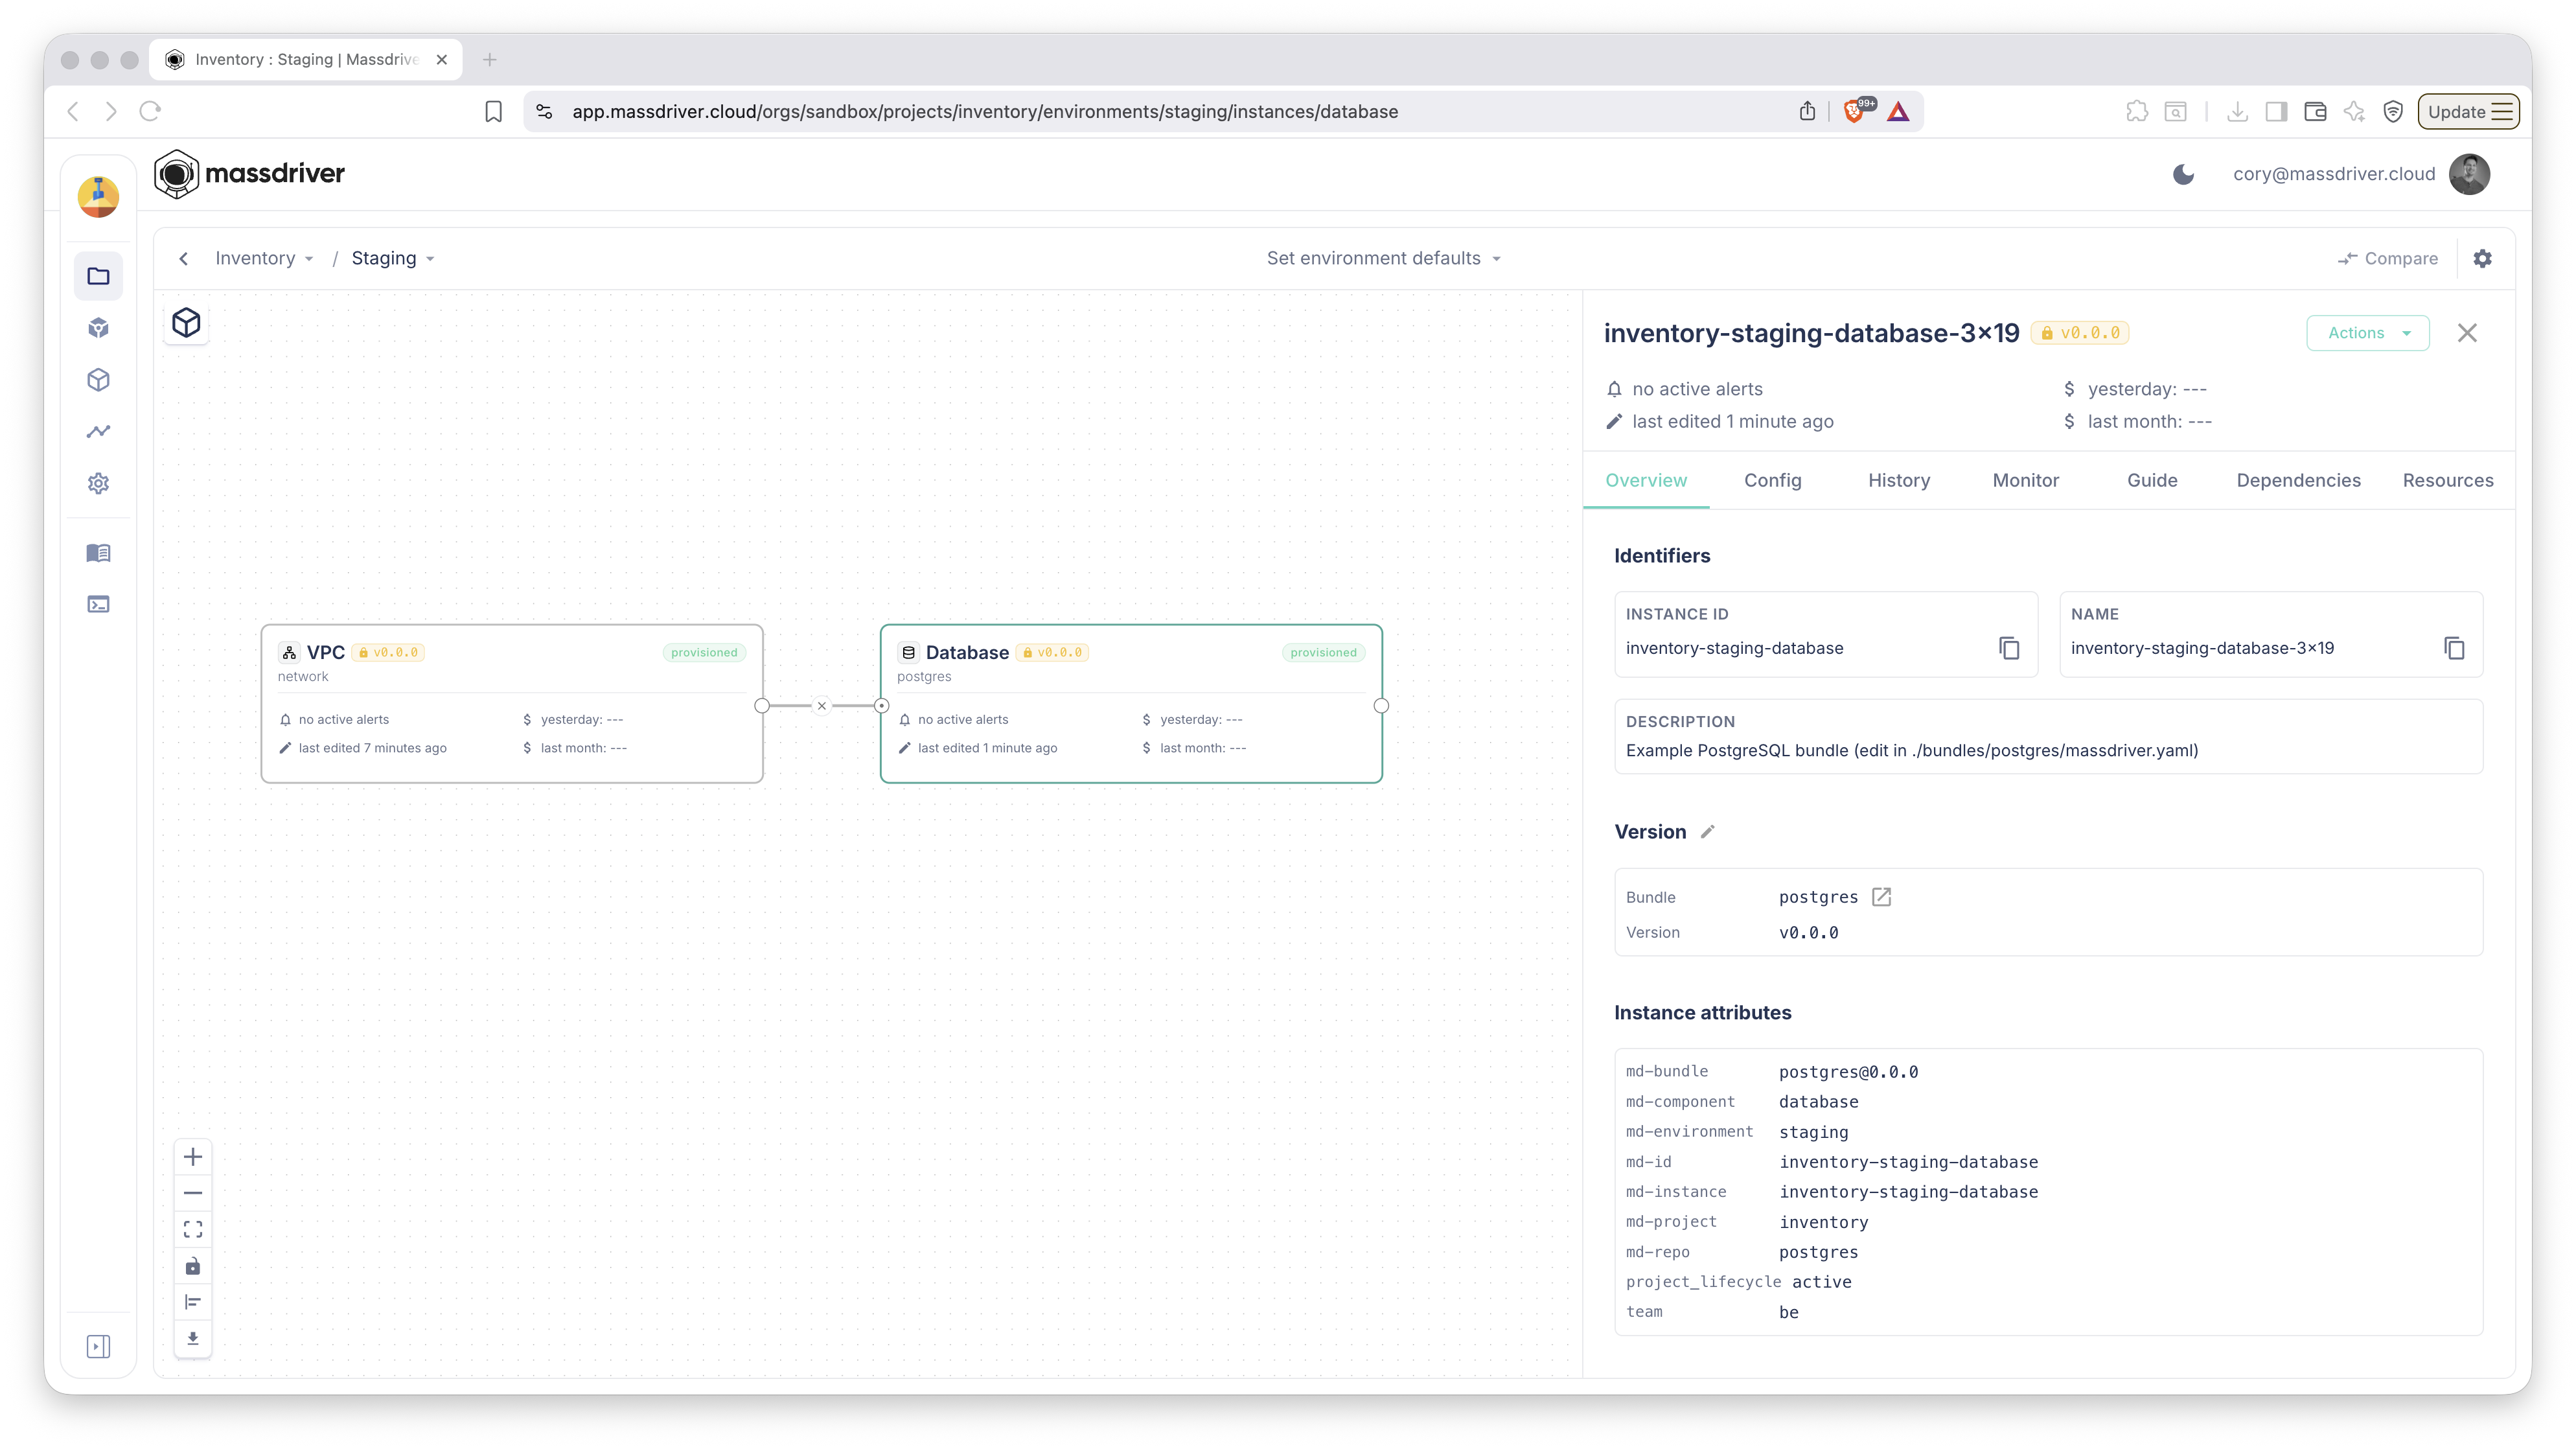
The deploy command takes the instance identifier — the prefix Massdriver applies to every cloud resource the instance creates. You can find it on the instance's Overview tab under Identifiers → Instance ID (e.g. inventory-staging-database in the screenshot below).
mass deploy can be added to your CI/CD pipeline to trigger deployments to your Kubernetes cluster.
export MASSDRIVER_ORG_ID=FOO
export MASSDRIVER_API_KEY=BAR
mass deploy example-staging-phoenixchat
Your Organization ID is the path segment right after /orgs/ in the URL of every Massdriver page — so any tab you have open already shows it. For example, https://app.massdriver.cloud/orgs/sandbox/projects belongs to the sandbox org.